

Key Takeaways
- Dirty coils force your system to work harder, driving up energy bills and shortening equipment lifespan
- Even a thin layer of dirt on coils can slash cooling efficiency by 20% or more
- The evaporator coil sits indoors and handles heat absorption, while the condenser coil sits outside and releases that heat
- Always shut off power at the breaker before touching any part of the unit
- A soft brush, fin comb, no-rinse coil cleaner, and shop vacuum cover most residential cleaning jobs
- Bent fins should be straightened gently to restore proper airflow across the coil surface
- Routine cleaning once or twice a year prevents expensive breakdowns and keeps indoor air cleaner
Why Your Air Conditioner Needs Clean Coils
If you have ever wondered why your cooling bill creeps higher every summer, the answer might be hiding in plain sight. Inside your air conditioner are two sets of metal coils that quietly do the heavy lifting of moving heat around. When those coils get coated in dust, pollen, pet hair, or grease, the whole system has to strain to do its job.
Think of it like trying to breathe through a scarf. You can still get air, but your lungs have to pull harder. Your air conditioner behaves the same way when its coils are dirty, and over time that extra effort wears parts out faster.
The good news is that coil cleaning is not rocket science. With a free afternoon, some basic supplies, and a willingness to get a little dirty yourself, you can handle this job at home. This guide walks you through everything from the very first basics to the finishing touches.
What Exactly Are HVAC Coils?
Before you grab a brush, it helps to know what you are actually cleaning. Your system has two main coils, and each plays a different role in the cooling cycle. Understanding them makes every other step easier.
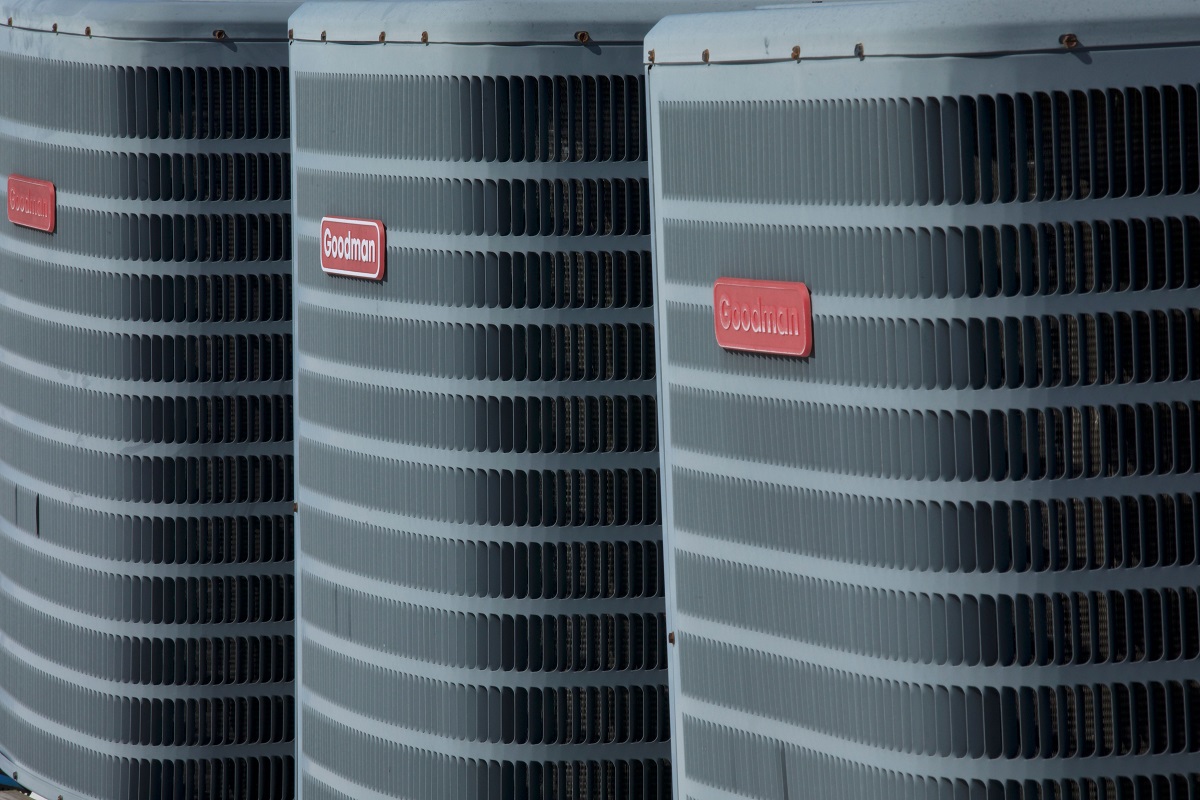
The evaporator coil lives inside your home, usually tucked above or beside the furnace or inside the air handler. Its job is to absorb heat from the air blowing across it. The condenser coil sits outside in that big metal box in your yard, and it releases the heat your home gave up into the outdoor air.
How Dirt Ruins Their Job
Both coils rely on direct contact between metal and air. Anything that comes between those two surfaces acts as insulation, which is the opposite of what you want. According to OxMaint, a grime buildup only one-sixteenth of an inch thick on a condenser can slash system efficiency by up to 21%, and compressor energy use can climb nearly a third when the outdoor coil is fouled. That is a huge penalty for something you cannot easily see.
Tools and Supplies You Will Need
You do not need a van full of equipment to do this job well. Most of what you need either lives in your garage already or costs very little at a hardware store. Gather everything before you start so you are not running back and forth mid-project.
Here is a straightforward shopping list for a typical residential job:
- A soft-bristle brush, like a car detailing brush or an old paintbrush
- A spray bottle filled with warm water and mild dish soap, or a no-rinse foaming coil cleaner
- A fin comb or fin straightener that matches your fin spacing
- A shop vacuum with a soft brush attachment
- A garden hose with a gentle spray nozzle for the outdoor unit
- Work gloves, safety glasses, and old clothes you do not mind ruining
Avoid pressure washers, wire brushes, and harsh household cleaners like bleach. The aluminum fins on your coils are surprisingly delicate, and aggressive tools or chemicals can bend them, corrode the metal, or void your warranty.
How to Clean HVAC Coils the Right Way, Step by Step
Now for the main event. This is the section where learning how to clean hvac coils goes from theory to practice, and the process is more about patience than muscle. Work slowly, resist the urge to blast everything with water right away, and give each cleaning product the full dwell time it needs to break down grime chemically rather than relying on brute force. If you rush, you risk bending delicate aluminum fins, driving dirt deeper into the coil pack, or splashing water onto components that should stay bone dry. Think of this as a careful detailing job, not a pressure-washing marathon.
Start with the outdoor condenser unit first since it is easier to access, more forgiving of beginner mistakes, and a good warm-up before you tackle the indoor side. Shut off power at the dedicated outdoor disconnect box and at your main breaker panel. This step is non-negotiable because the fan can start without warning and seriously injure your hand, and because any moisture that reaches live terminals can short out expensive control boards. Once power is off, wait a minute, then remove the top grille and any side panels according to your owner’s manual. Keep the screws in a small container or magnetic tray so none disappear into the lawn, and take a quick phone photo of the wiring layout before you disturb anything.
Working on the Outdoor Condenser
Use your shop vacuum with the soft brush attachment to clear leaves, grass clippings, cottonwood fluff, pet hair, and loose debris from the fins. Move the brush in the same direction as the fins, never across them, since even light sideways pressure can fold the aluminum over and choke airflow. If you spot bent fins, straighten them gently with a fin comb sized to the fin spacing of your unit, usually between 8 and 15 fins per inch. Then spray coil cleaner evenly across the fins from the inside out, let it foam up for the time listed on the label, which is typically five to ten minutes, and rinse gently with your garden hose from the inside pushing dirt outward. A spray nozzle set to a wide shower pattern works better than a narrow jet, which can flatten fins instantly. For heavily soiled units, a second application is far safer than cranking up the water pressure. Replace the panels only after everything has air-dried, confirm the fan blade spins freely by hand, and restore power at both the disconnect and the breaker.
Working on the Indoor Evaporator
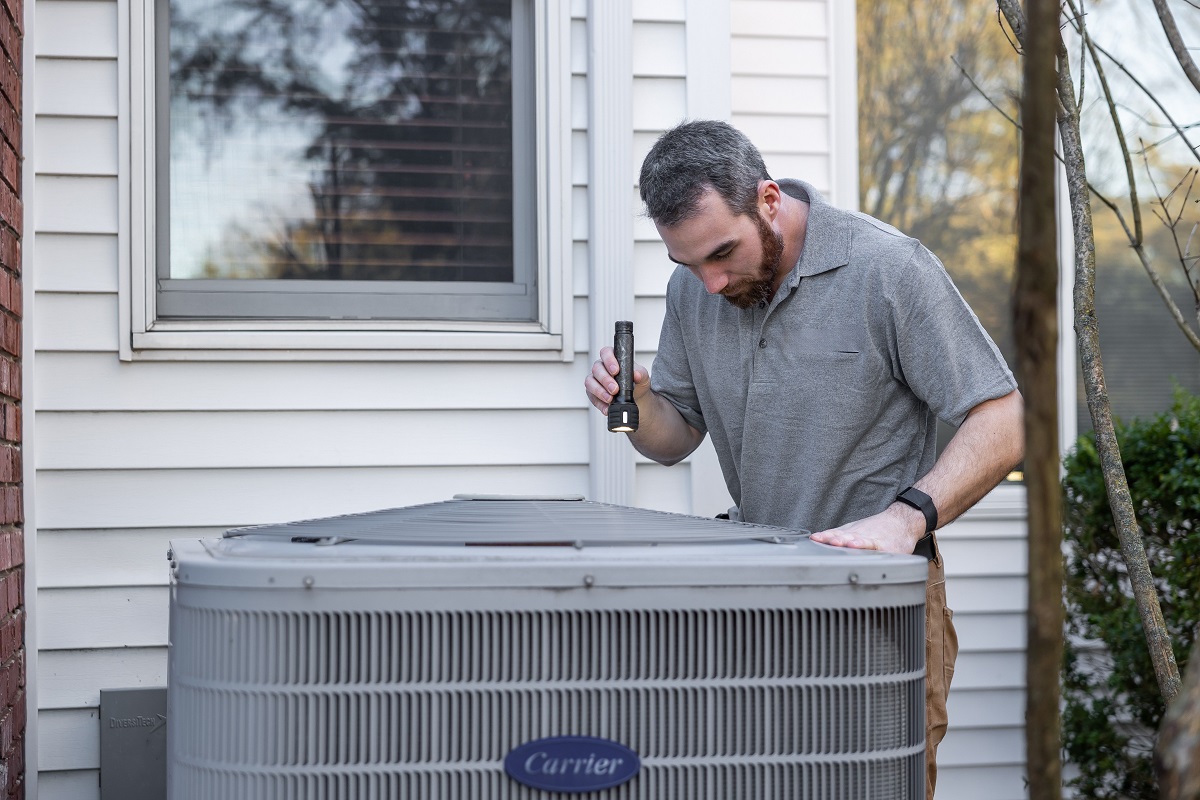
The evaporator coil is trickier because it hides inside the air handler, often behind sheet-metal panels sealed with foil tape, and it sits directly above sensitive electronics. Turn off power at the breaker, remove the access panel, and look for the A-shaped or slanted coil, which is typically copper tubing laced through thin aluminum fins. Shine a flashlight across the surface to spot matted dust, biofilm, or rust streaks that indicate past condensate overflow, and note the condition so you can monitor it as part of your regular HVAC maintenance routine. Apply a no-rinse foaming cleaner designed specifically for evaporator coils, let it drip into the condensate pan on its own, and gently brush any visible debris away from the fins with a soft nylon brush. Pour a cup of warm water with a splash of distilled vinegar into the drain pan to help flush the condensate line while you are there. Do not soak the surrounding electrical components, do not use household degreasers or bleach, and never scrub hard enough to deform the fins. Reseal the access panel with fresh foil tape if the original tape no longer sticks, then restore power and listen for smooth, quiet airflow when the system cycles back on.
Common Mistakes Beginners Make
Even careful homeowners trip over the same handful of pitfalls on their first try. Knowing what to avoid saves time, money, and the embarrassment of calling a technician to fix a problem you created. Most of these mistakes come from doing too much rather than too little.
Here are the slip-ups that pop up most often:
- Skipping the power shutoff and risking shock or injury from the spinning fan
- Using a pressure washer that flattens the delicate aluminum fins
- Scrubbing with stiff brushes that scratch the coil coating
- Forgetting to straighten bent fins afterward with a proper fin comb
- Ignoring the condensate drain line, which clogs just as easily as the coils
- Reassembling panels while the unit is still wet, trapping moisture inside
Another overlooked step is checking the surrounding area. Trim back shrubs, grass, and any landscaping within two feet of the outdoor unit. Good airflow around the condenser matters almost as much as a clean coil surface.
How Often Should You Clean Them?
Timing depends on where you live and how hard your system works. A home in a dusty rural area with pets and nearby trees needs attention far more often than a condo in a sealed high-rise. As a general rule, inspect your coils twice a year and clean them at least once annually.
Spring is the ideal time for a thorough cleaning because it preps the system for the hard-working summer months. A quick check in fall is smart too, especially for the outdoor unit, which spends the whole season collecting leaves and debris. Pairing coil work with other seasonal HVAC maintenance tasks like filter changes and thermostat checks keeps everything running smoothly.
When to Call a Professional Instead
Some situations call for expert help. If your evaporator coil is heavily caked with biological growth, if refrigerant lines look damaged, or if you suspect a leak, stop and call a licensed technician. The Environmental Protection Agency notes that preventive maintenance pays for itself through lower operating costs and better equipment longevity, which is a strong case for scheduling regular HVAC inspections alongside your DIY efforts.
What You Gain From Keeping Coils Clean

The payoff from this chore shows up in several ways. Your energy bills shrink because the system no longer has to run longer to hit the thermostat setting. Rooms cool down faster. Your equipment lasts years longer because the compressor is not grinding away under constant strain.
The financial side is eye-opening. According to EVAP-Fresh research, dirty coils can drive HVAC energy consumption up by as much as 37% while cutting cooling capacity by nearly a third. That is money leaking out of your wallet every single month the system runs.
Beyond the dollars, there is a comfort and health angle that often gets overlooked. Clean coils mean drier indoor air during humid months because the evaporator can properly condense moisture out of the airstream. They also mean fewer mold spores and bacteria circulating through your ductwork, which matters a great deal if anyone in your household deals with allergies or asthma.
- Lower monthly utility bills thanks to restored efficiency
- Faster cooling and more even temperatures from room to room
- Reduced humidity and fewer musty odors coming through the vents
- Longer compressor and blower motor lifespan
- Cleaner indoor air with fewer allergens and microbial growth
- Fewer emergency repair calls during peak summer heat
Wrapping It Up
Cleaning your coils is one of those rare home projects where a modest time investment delivers an outsized return. You spend an afternoon with a brush, some cleaner, and a bit of patience, and in exchange you get a quieter system, cheaper bills, and equipment that holds up for years longer than it otherwise would. The learning curve is gentle, and once you have done it a single time, every future round goes faster.
Treat the job as a seasonal ritual rather than a one-off chore. Pair it with filter swaps in spring, a quick condenser check in fall, and a visual inspection anytime you notice weaker airflow or warmer rooms than usual. Small, consistent attention beats dramatic emergency fixes every time.
If you ever hit something that feels beyond your comfort zone, whether it is stubborn biological buildup, suspicious refrigerant stains, or electrical components you are not sure about, step back and bring in a licensed technician. There is no shame in knowing where your limits are. The goal is a healthy system, and sometimes the smartest DIY move is recognizing when to hand off the final mile.